
cialis broadvisiongroup.com
November, 2017. Fanny Bay, BC
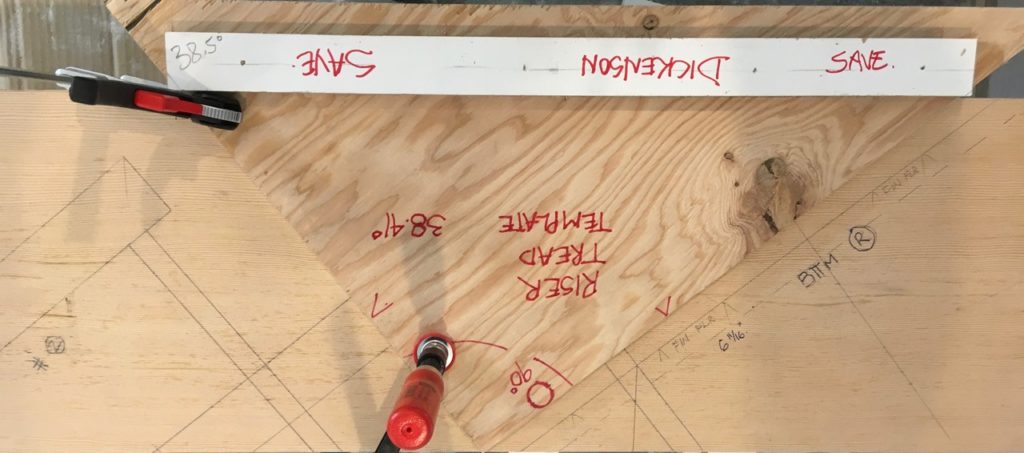
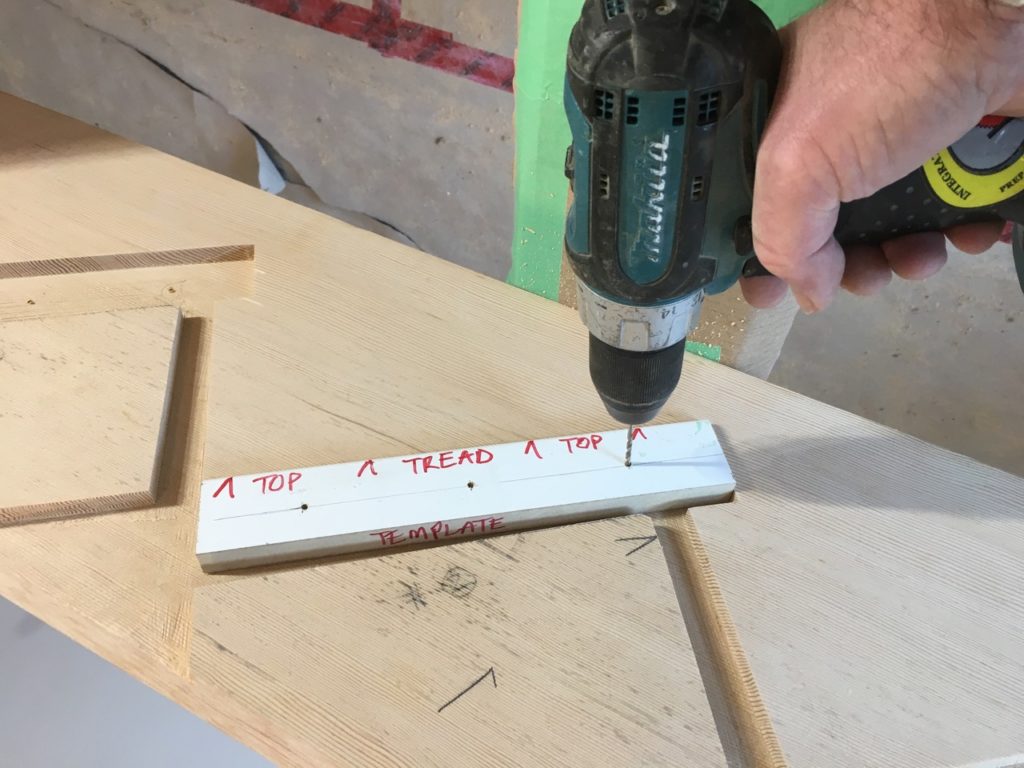
Note the use of “Nosing Points” to correct for “square/pencil gain”~in this case the number was 12 1/8” to each nosing point. (With Thanks to Robert Alspaugh).
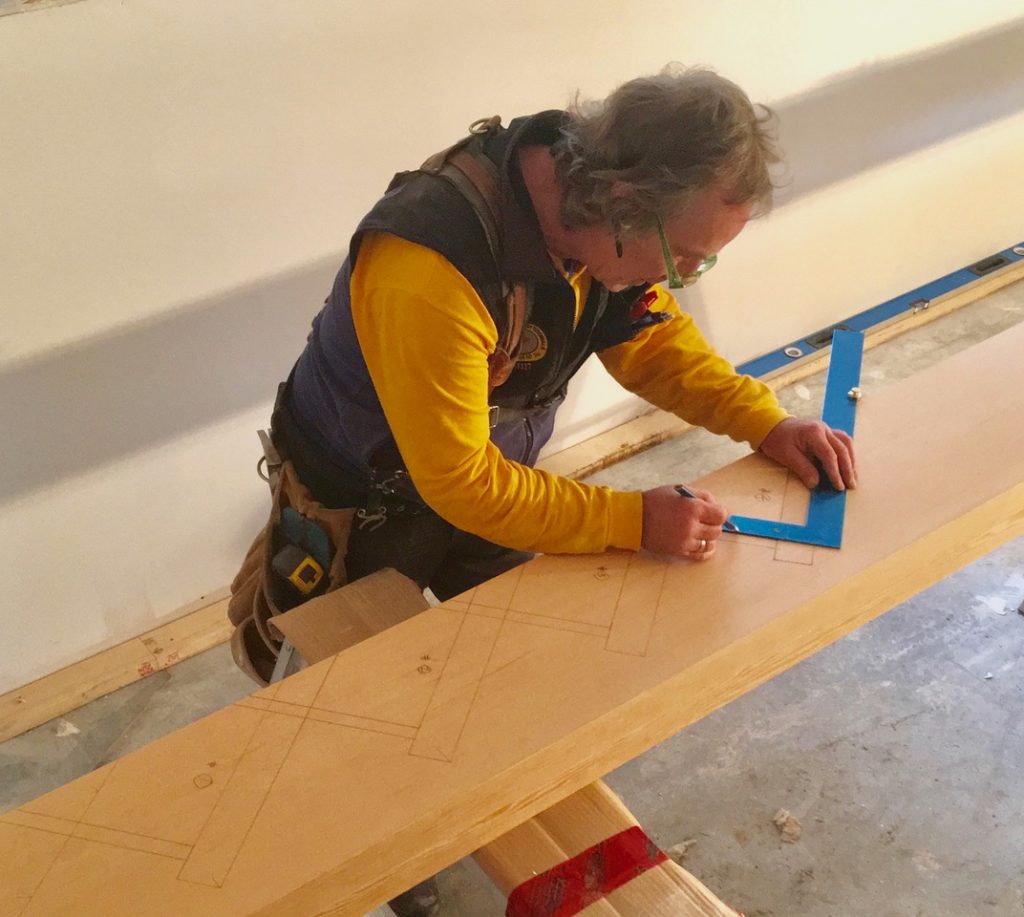
Ready to cut 1/2” stringer dadoes to layout lines with “pitch block” & offset(s) for Skilsaw blade. (Note the “Nosing Point” layout line on L Tread. Trust me; they’re important…)
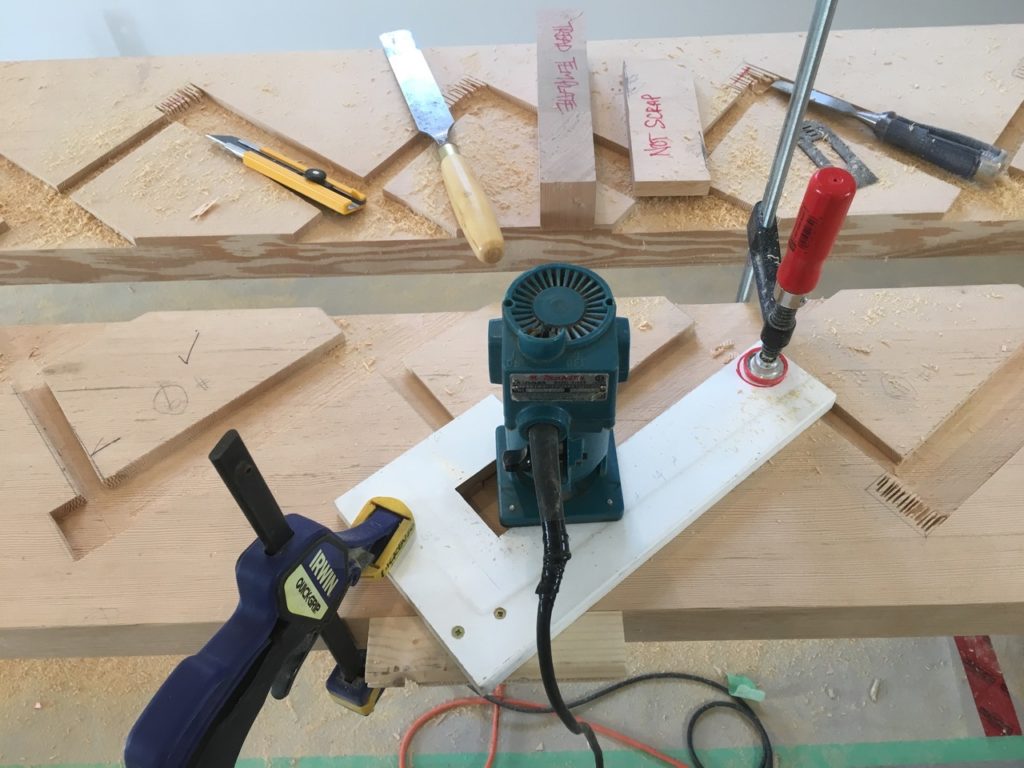
Finishing the nosings with laminate trimmer & template; finished nosing radius (radii) by hand, with plane iron. Note Tread & Riser blanks for hand fit.
Treads and Risers are all hand fit, (and glued & wedged & screwed later from behind.) This was Demo shot for the Client.
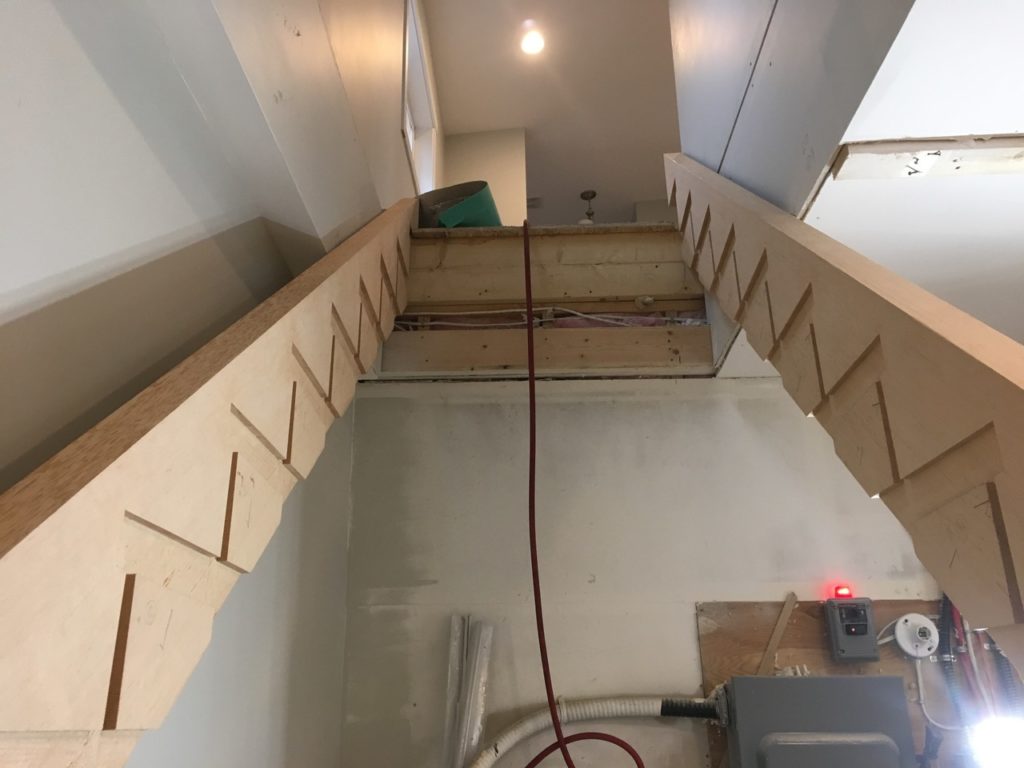
Carriages (stringers) are now rough fit to opening, scribed to finish floor on the toe, and will establish Finish Floor line on top.
Drilling blind pilot holes for counter sink of Tread screws on Stringer face~then plugged later with matched grain dowels cut from same stock. (Every screw on every Tread on the exposed Finish Face of the Carriage must be in exactly the same place.)
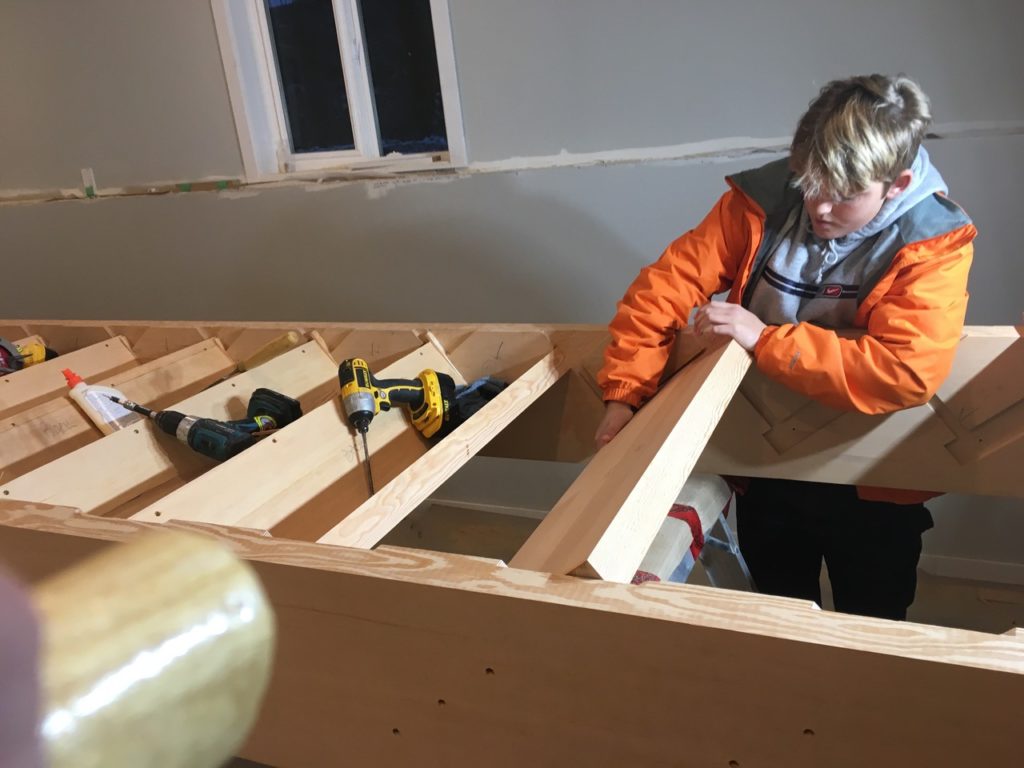
Stair assembly of Treads & Risers with my Young Apprentice. Glued, wedged and screwed from behind.
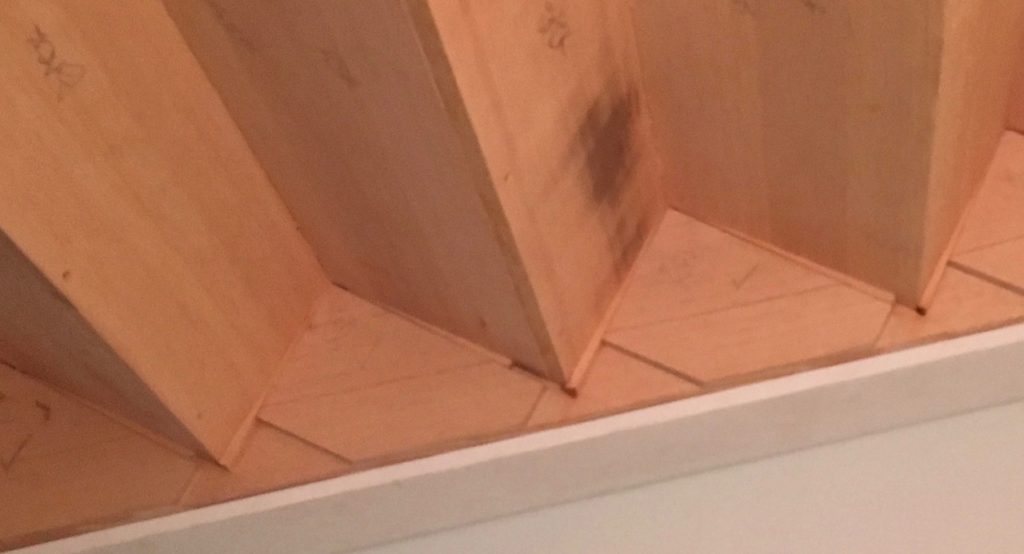
Finished shot of the wedges complete.
Checking the finish face of Treads & Risers for “glue bleed”. (Note green tape Band Aid on Left Index Finger…)

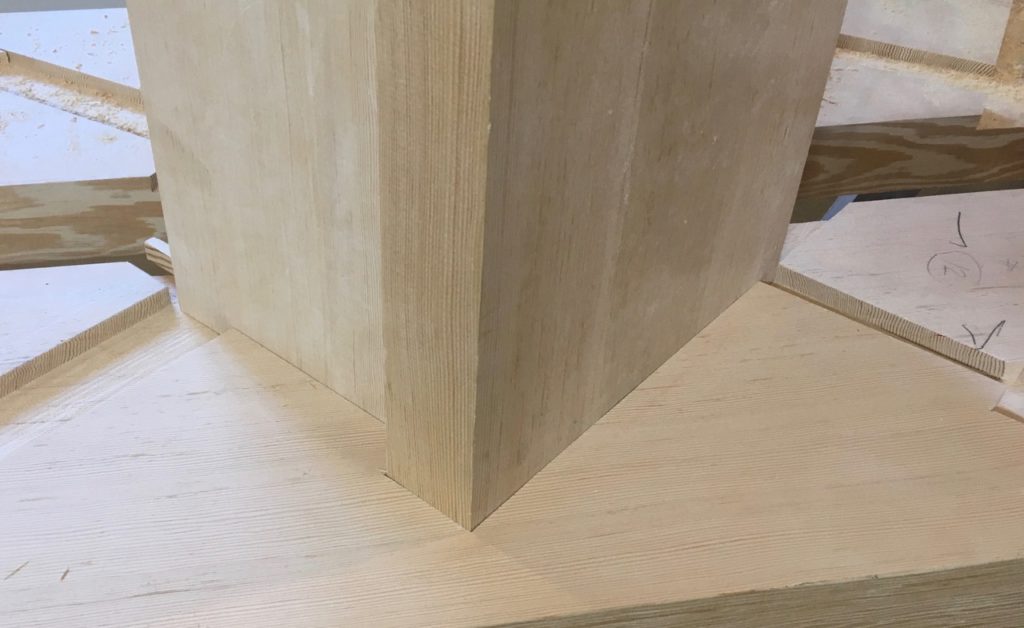
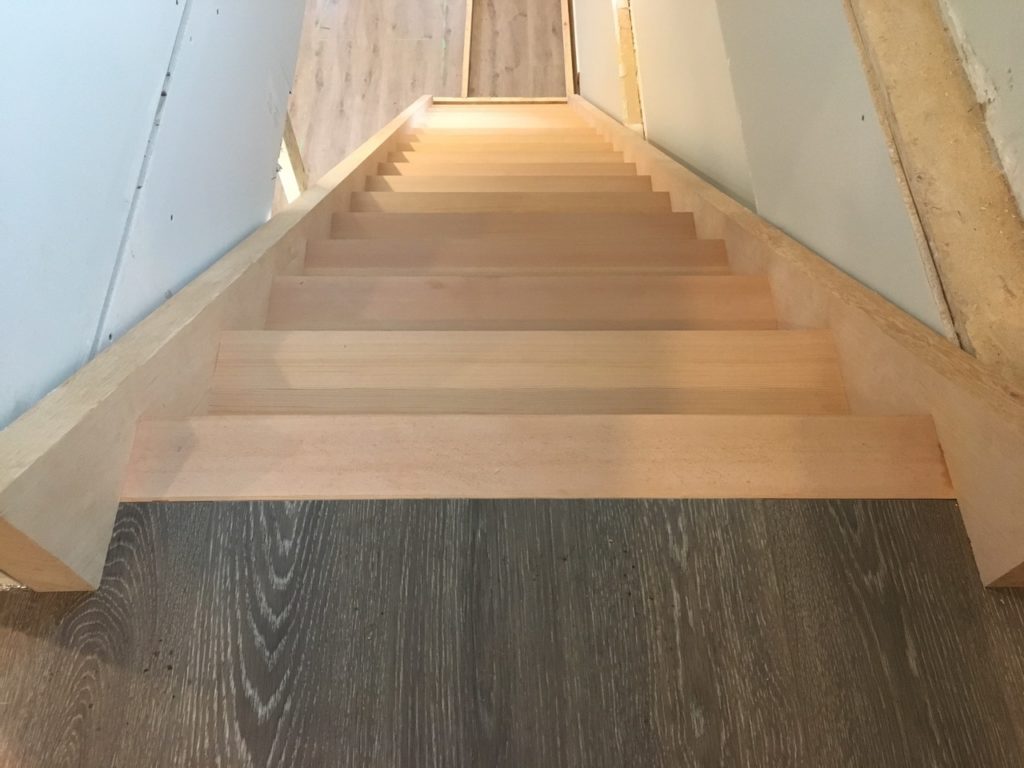
Finished Install, Toe & Run. Those are shadows where the Toe & Riser meet the floor. It was planed by hand. Perfect.
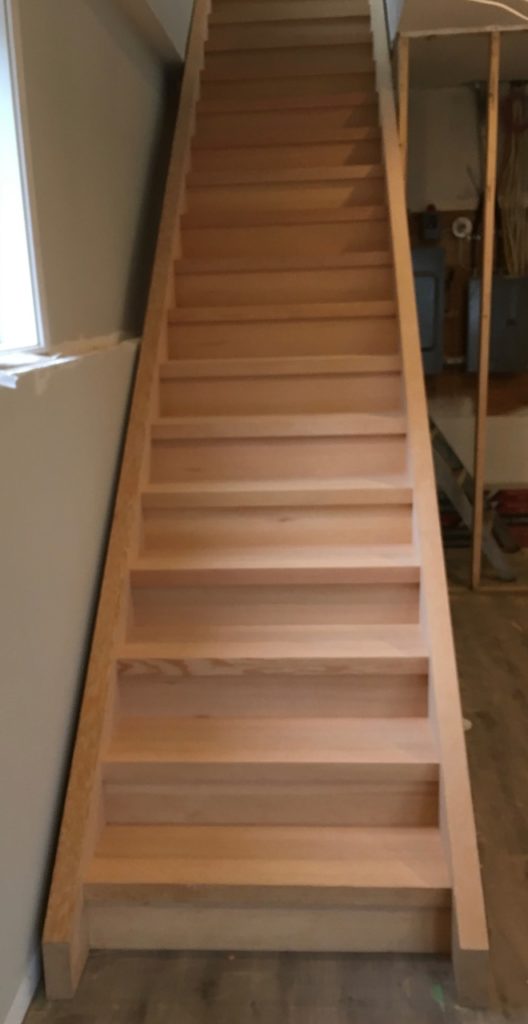
Finish Install~Top Tread to Finish Floor. Perfect.
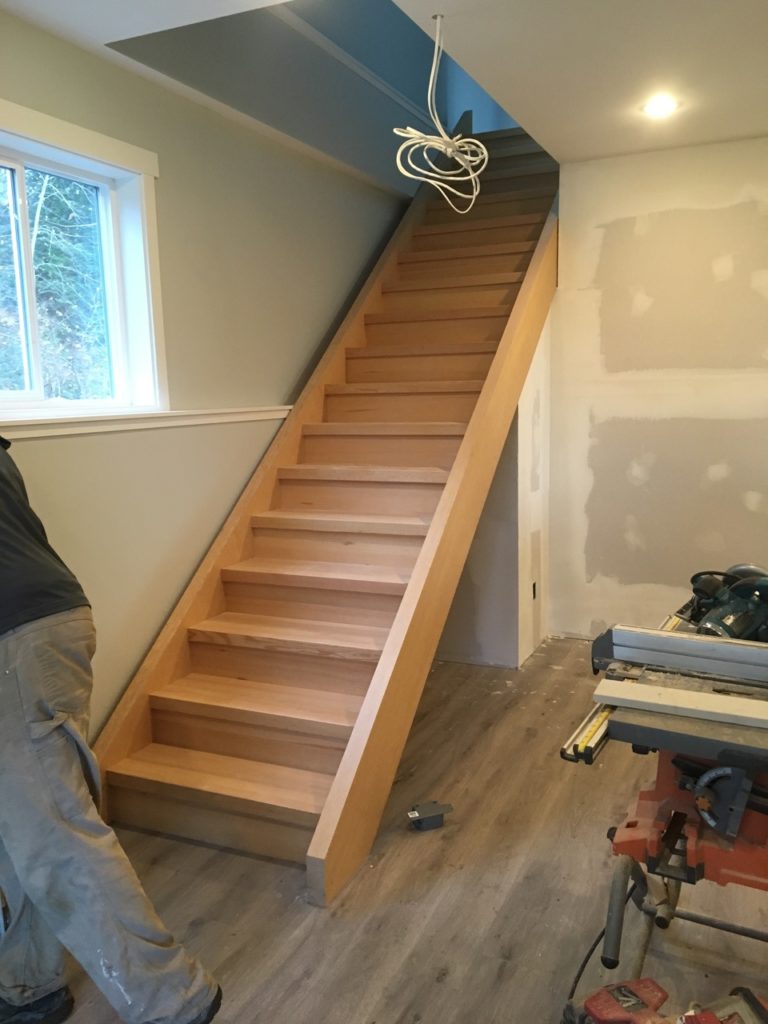
With a light stain~Ready for Stainless Steel & Glass handrail treatment. (And a light switch too, judging by the garish knot of 14/3 rough in wire…My buddy D’Arcy’s arse is a temporary fixture, however…I clearly didn’t take a few of these pics.)
(The shadow line on the bottom of the first Riser still pisses me off.)
I came out of retirement to build these stairs. Old Growth Vertical Grain Douglas Fir. Almost extinct. Even here.
This material was “recovered” from demolitions of old structures. It was flawless. Not one knot, anywhere.
(With thanks to Simon Shaw at Island Timber Frame in Cumberland, BC for his expertise and attention to detail~!)
The Carriages (Stringers) are almost 3” thick and 12” wide. The Treads are full 2” thick. A slight “roundover” was added to the treads after installation with the laminate trimmer. This created a nice “setback reveal” from the carriages.
Total Rise was 10’-8”= 20’-0” stringers (rough). 17 Risers & 17 Treads (including 4” Tread finish to top floor; + bearing).
I estimate the finish weight of the timber to be at least 400 lbs., assembled.
The last time I built a set of stairs on-site like this, it was 1988.
Feedback is welcome and for further information, contact me at: integratedcarpentrytutorials@gmail.com